Warning: session_save_path(): Cannot change save path when session is active in /home/heatho5/public_html/wp-content/plugins/form-maker/Form_Maker.php on line 13

Warning: Cannot modify header information - headers already sent by (output started at /home/heatho5/public_html/wp-content/plugins/form-maker/Form_Maker.php:13) in /home/heatho5/public_html/wp-includes/feed-rss2.php on line 8
Photoshop – heath ofee dot com http://heathofee.com Sat, 18 Jun 2011 12:58:58 +0000 en-US hourly 1 https://wordpress.org/?v=6.1.6 Perfect Layers http://heathofee.com/2011/06/17/perfect-layers-2/ http://heathofee.com/2011/06/17/perfect-layers-2/#comments Fri, 17 Jun 2011 12:45:33 +0000 http://heathofee.com/?p=2544 Yesterday saw the official release of Perfect Layers from onOne Software. This is a pretty revolutionary plugin for Lightroom and Aperture that allows the use of layers within both of these programs. For those of you who don’t have Photoshop, prefer to do most of your work in Lightroom/Aperture, or just want a quick and easy way to add layers, you should definitely check out Perfect Layers. I haven’t used it a ton yet, but from my brief experience, it functions very well. Similar to Photoshop, multiple images can be stacked with different blend modes and opacities, and layer masks can be created to selectively mask two or more images together.

As an example of what is possible with Perfect Layers, I decided to try some manual exposure blending using two images at different exposure levels. Below are the two images I brought into Perfect Layers:
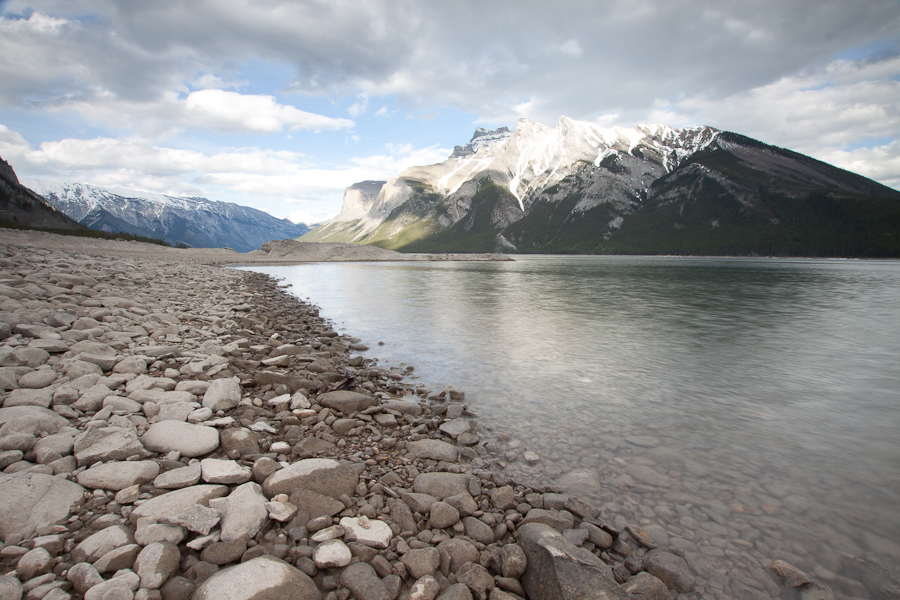
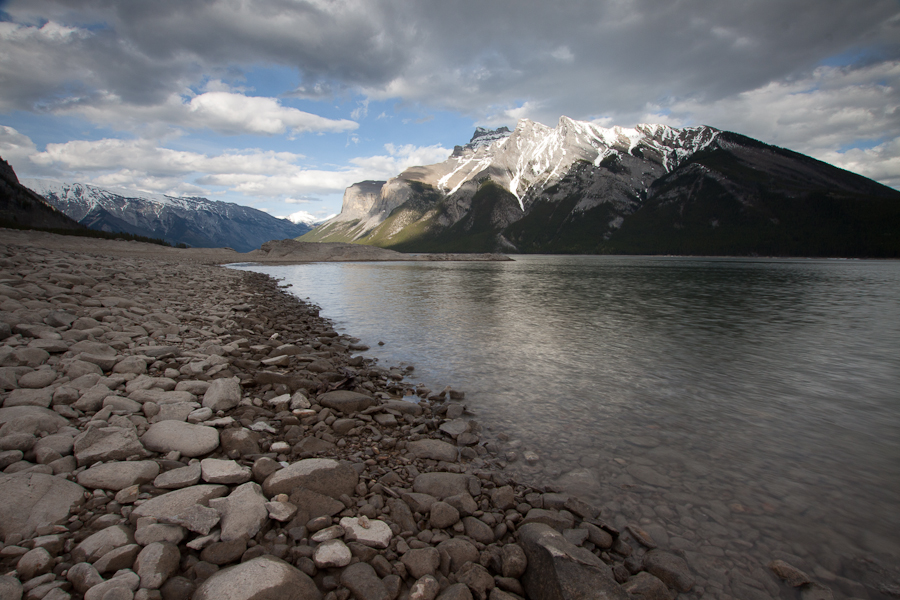
I stacked these two images with the overexposed shot on top, and set my blend mode to Normal. From there, I used a layer mask to selectively paint where I wanted the underexposed shot to show through. I varied the opacity of my brush through the frame to get the blend that I wanted. One of the great things about Perfect Layers is that it allows you to easily view your mask in different ways to see exactly where you’ve brushed in or out. Once I had the image where I wanted, I did a quick bit of styling in PhotoTools and I was done. Below is the final image:
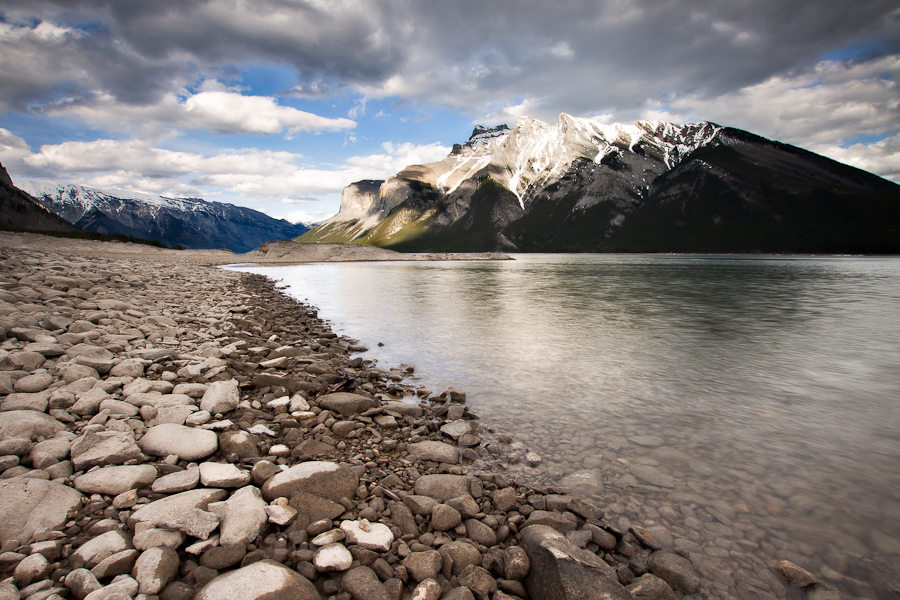
I can see myself using Perfect Layers for quick exposure blending and layer masking. The ability to edit layers right in Lightroom is amazing, and I can’t wait to really put this plugin through its paces.

You can download a 30-day trial of Perfect Layers right now, or pick up the full version for the introductory price of $99.95 (a $30 savings). Give it a go…you won’t regret it.

]]>
http://heathofee.com/2011/06/17/perfect-layers-2/feed/ 11
New Blog, New Eyes, and The Eye of a Monster http://heathofee.com/2010/09/29/new-blog-new-eyes-and-the-eye-of-a-monster/ http://heathofee.com/2010/09/29/new-blog-new-eyes-and-the-eye-of-a-monster/#comments Wed, 29 Sep 2010 02:17:29 +0000 http://heathofee.com/?p=1108 As I type this blog post I am still marveling at the miracle that is laser vision correction. I’ve worn glasses or contact lenses since I was 11 years old, and the fact that I can now wake up and go about my daily activities without needing either is really nothing short of a miracle. I’ll publish a full summary of my experiences in a week or so, but for now…on to the more exciting news: I’ve launched my new blog today!! For a long time now I’ve thought about shedding the yycofee.wordpress.com URL and moving on to a more professional photographer’s name here . com style hosting platform, but only made the plunge into getting my own domain name and hosting a couple of months ago. Since then, I’ve been working off and on trying to sift through the infinite customization options offered by my WordPress theme trying to get things looking *mostly* the way I like. The hardest part by far was trying to create a logo/header…so any feedback you have on that would be appreciated. I’m sure over the course of the coming months I’ll notice things that I want to change/add/remove, so bear with me, I just really wanted to get this thing live! On the off chance that you’re a current subscriber to my old RSS feed, you can re-subscribe to the new feed here. And if anyone still uses bookmarks and happened to have my old blog marked, don’t forget to add heathofee.com to your list!

Yesterday, I went for my first short photowalk after my eye surgery, and since my car is still parked across the city, I was limited to wherever my feet could carry me. I’ve said this before, but I live in a relatively new development, so there are still a number of large construction vehicles around almost all the time. I had walked the dog earlier in the day and saw a couple of these construction giants that I wanted to capture when I went back out with the camera…unfortunately, two of the three I wanted to shoot were in use by the time I returned. So…with only one of my locations still available, I tried to make the best of it and ended up with a few usable brackets from the one construction vehicle….the first is below:
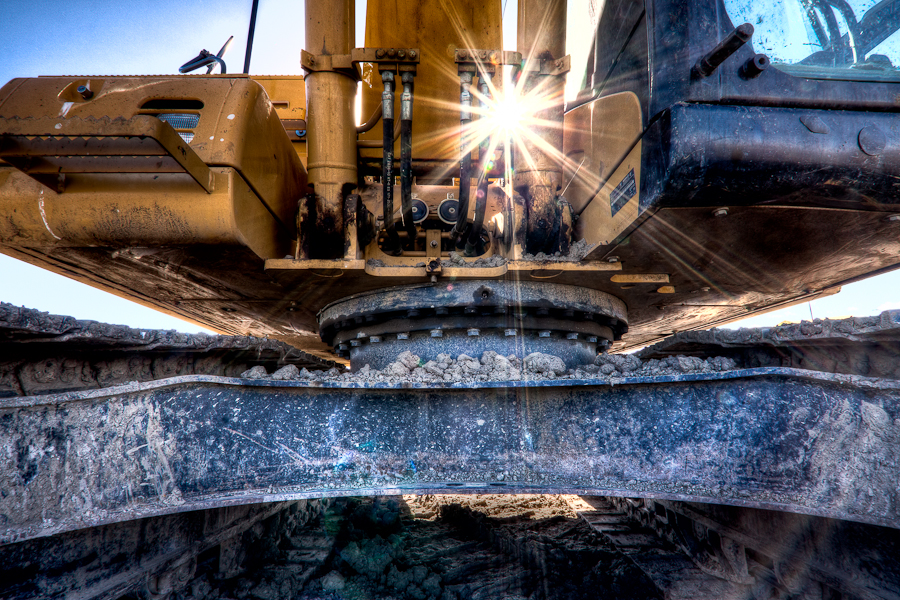
Canon EOS 50D, Sigma 10-20mm f/3.5, 10mm, F 16, ISO 100, 5 Exposures

]]>
http://heathofee.com/2010/09/29/new-blog-new-eyes-and-the-eye-of-a-monster/feed/ 12
Aging Barbs http://heathofee.com/2010/09/05/aging-barbs/ http://heathofee.com/2010/09/05/aging-barbs/#comments Sun, 05 Sep 2010 22:16:18 +0000 http://heathofee.com/?p=1026 I was up late last night with the intention of processing a ton of images, but as it turned out I spent most of my time on the one you see below. I knew from the start that I wanted a bit of a rustic look to it, but I had no idea that I would start experimenting with textures for the first time! Since I’d never added texture to a shot before it was a bit of a learning experience for me in Photoshop. After a decent amount of playing around with a bunch of different textures, the opacity slider and a gradient I felt I was happy with how the texture added to the look of the photo. I also threw a yellowish layer on top to give the photo a bit more of an aged look which I felt suited the content.

It’s always nice to try something new when processing an image…gets the old brain working in different ways. As much as I love online tutorials for learning how to do things like this in Photoshop, I’ve always thought the real learning comes from trying a few things, screwing up, and then trying again (which I did plenty of last night). I’m happy with how my first textured shot came out, but I’m open to some constructive criticism as well…please let me know what you think!
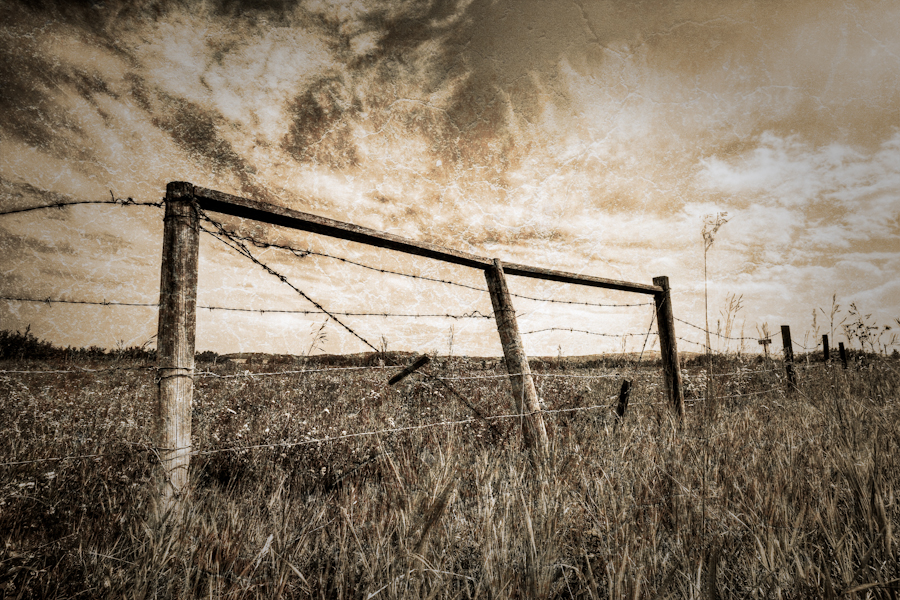
Canon EOS 50D, Sigma 10-20mm f/3.5, 10mm, F 11, ISO 100, 5 Exposures

]]>
http://heathofee.com/2010/09/05/aging-barbs/feed/ 1
Simmons Heritage Building http://heathofee.com/2010/09/05/simmons-heritage-building/ http://heathofee.com/2010/09/05/simmons-heritage-building/#respond Sun, 05 Sep 2010 22:02:59 +0000 http://heathofee.com/?p=1015 Although Calgary is a relatively young city, there are a few pretty cool historic landmarks still kicking around, and any of these landmarks that are deemed worth preserving are given Heritage status and are typically restored and sometimes used as retail or office space. The old Simmons building in the East Village was constructed in 1912 for an estimated cost of $20,000 and was used by Simmons to make quality bedding products until 1966 when flooding from the Bow River necessitated a move. It is currently occupied by the Calgary Municipal and Land Corporation. They have a much more detailed history of the building on their site if you’re interested.

I took the below shot with my Sigma 10-20mm and purposely got nice and close to the building and shot at 10mm to get the interesting distorted perspective. I also don’t usually place a subject right in the middle of the frame but sometimes the symmetry of a shot can be much more powerful than a traditional “rule of thirds” composition.
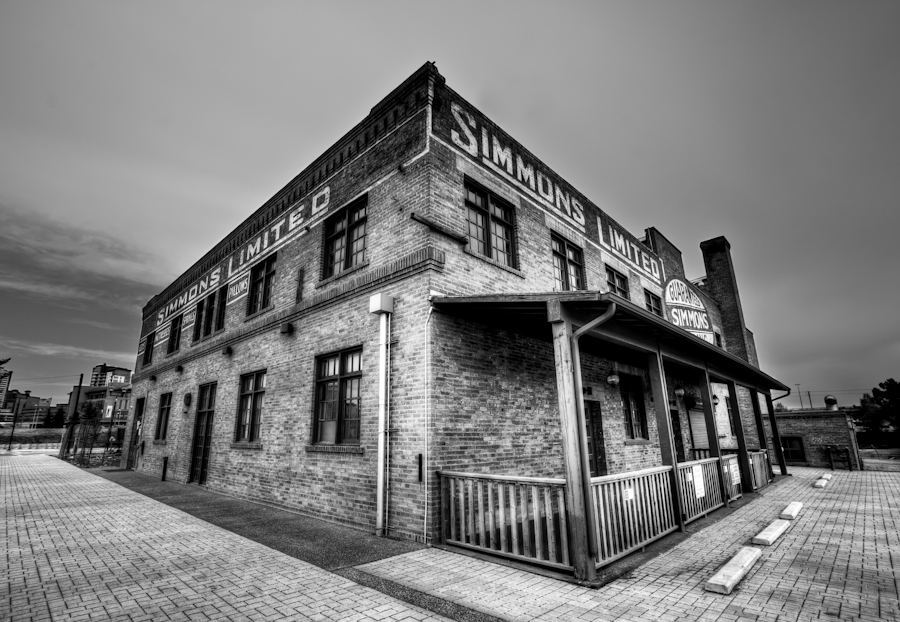
Canon EOS 50D, Sigma 10-20mm f/3.5, 10mm, F 11, ISO 100, 3 Exposures

]]>
http://heathofee.com/2010/09/05/simmons-heritage-building/feed/ 0
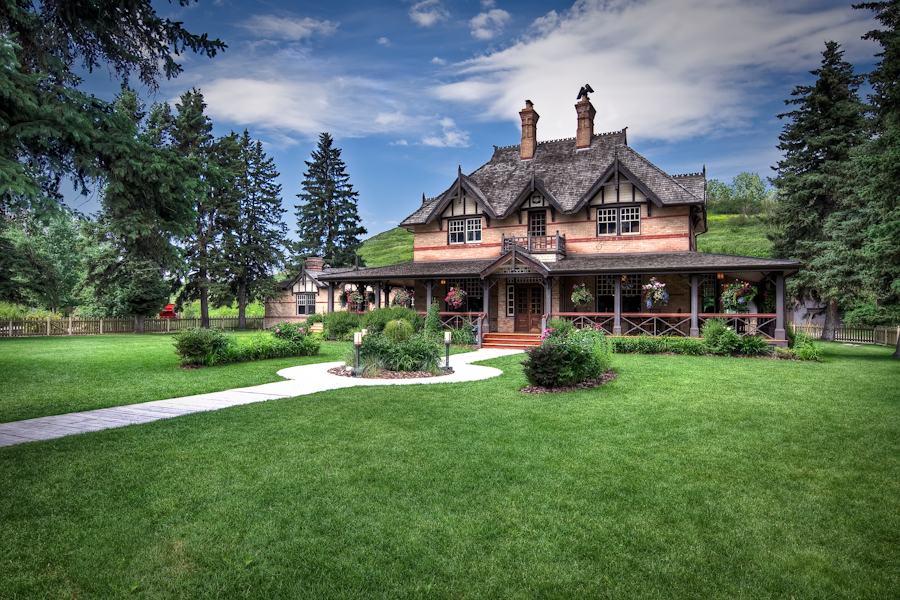
The Ranche http://heathofee.com/2010/07/17/the-ranche/ http://heathofee.com/2010/07/17/the-ranche/#comments Sat, 17 Jul 2010 21:30:49 +0000 http://yycofee.wordpress.com/?p=821 Well, Stampede week is coming to a close here in Calgary and it was a pretty slack one at work. The office was virtually empty by noon each day which meant I was able to get out early almost all week. I managed to use some of that time to head out and take some much needed photos! Growing up in the southwest of Calgary, I frequented Fish Creek Park quite a bit and became quite familiar with a lot of it. One area I never made it to was the Bow Valley Ranch, so I decided to make a trip there after work this past Thursday. It turned out to be a great spot to snap some brackets for HDR…especially the ranch itself which has been turned into a very nice restaurant simple called ‘The Ranche’. I won’t give you the whole history here but if you’re interested you can read all about by following this link.

Canon EOS 50D, Sigma 10-20mm f/3.5, 13mm, F 9.0, ISO 100, 4 Exposures

The details: 4 exposure HDR tonemapped in Photomatix 3, Lightroom for color, contrast, clarity, sharpening, Photoshop for layer masking, Noiseware for noise control.

]]>
http://heathofee.com/2010/07/17/the-ranche/feed/ 6
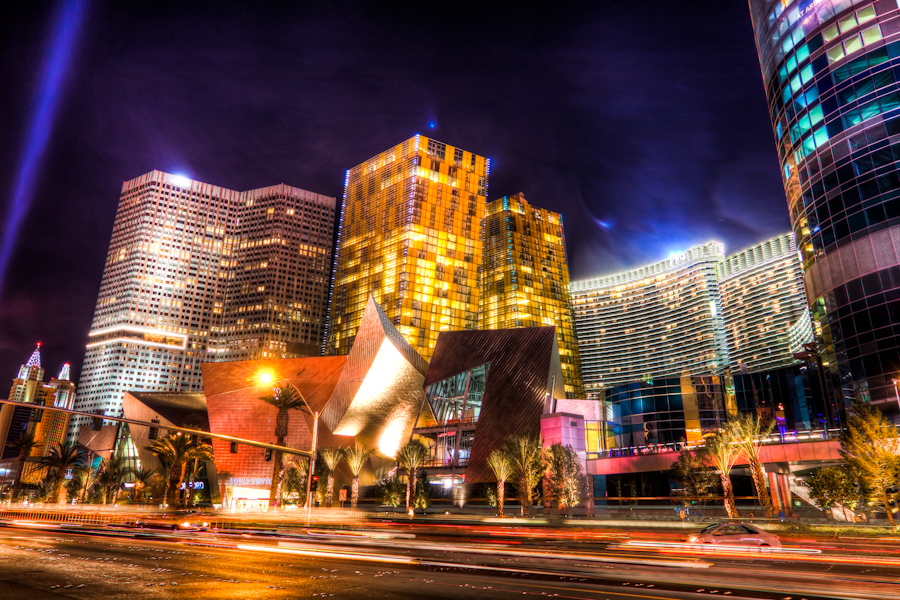
Vegas City Centre http://heathofee.com/2010/06/16/vegas-city-centre/ http://heathofee.com/2010/06/16/vegas-city-centre/#comments Wed, 16 Jun 2010 13:55:59 +0000 http://yycofee.wordpress.com/?p=763 This is another one of my favorites from our trip to Las Vegas last month. The new Vegas City Centre complex is very cool and I didn’t spend nearly as much time there as I would have liked to (although I have a feeling I would have been given a hard time trying to take photos there with my tripod without permission). This shot was taken from across the street on the busy corner just outside Planet Hollywood. As usual, it was a pretty busy night on the streets of Vegas and there were dozens of people on the corner waiting to cross the street while I was patiently setting up and taking this shot. Before I got there with my tripod nobody was taking the time to snap any photos of this scene…but after I got my gear all set up there were at least 3 or 4 others taking photos with their point-and-shoots of the same scene! Funny how people assume that if some random guy is taking a photo of something with a big tripod setup it must be a good photo opportunity…for all they know I could be the worst photographer in the world! Anyway…let me know what you think of this one:

Canon EOS 50D, Sigma 10-20mm f/3.5, 15mm, F 7.1, ISO 100, 3 Exposures

The details: 3 exposure HDR tonemapped in Photomatix, Lightroom for color, contrast, clarity, spot removal, Photoshop for layer masking and a bit of smudging, Noiseware for noise control.

]]>
http://heathofee.com/2010/06/16/vegas-city-centre/feed/ 2
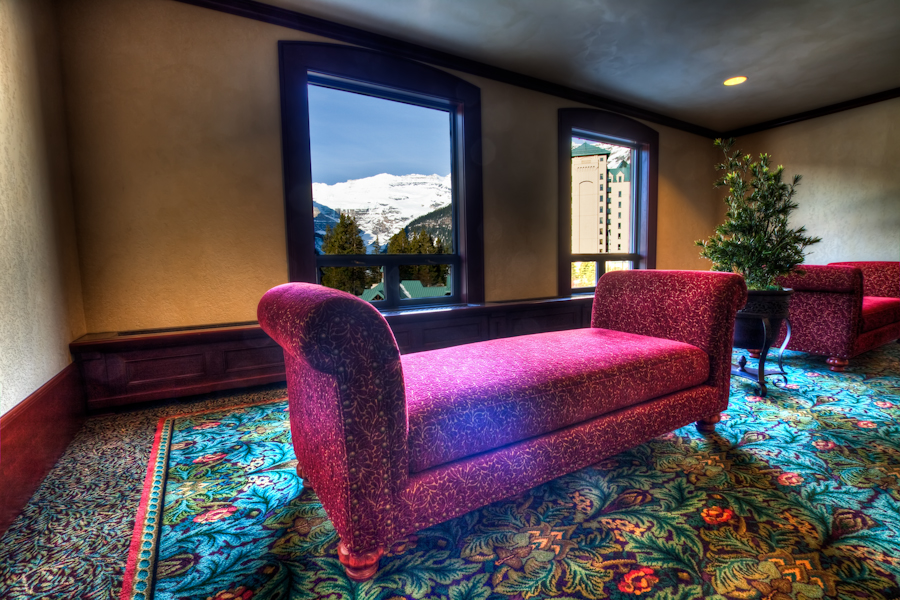
Chateau Lake Louise Sitting Room with a View http://heathofee.com/2010/06/09/chateau-lake-louise-sitting-room-with-a-view/ http://heathofee.com/2010/06/09/chateau-lake-louise-sitting-room-with-a-view/#comments Wed, 09 Jun 2010 12:54:07 +0000 http://yycofee.wordpress.com/?p=758 This was one of the last places I visited during my last trip to the Chateau Lake Louise and I’m very happy that I did. I was pretty sure this would make a decent HDR photo because of the very dramatic difference in light levels between the view through the window and the ambient light in the hotel. I just processed this one last night and I’m quite happy with the results…when I look at this photo I feel like I’m back at the Chateau looking at that beautiful view! Let me know what you think:

Canon EOS 50D, Sigma 10-20mm f/3.5, 10mm, F 8.0, ISO 100, 5 Exposures

The details: 5 exposure HDR tonemapped in Photomatix, layer masking in Photoshop, contrast, clarity, sharpening in Lightroom, noise reduction in Noiseware.

]]>
http://heathofee.com/2010/06/09/chateau-lake-louise-sitting-room-with-a-view/feed/ 1
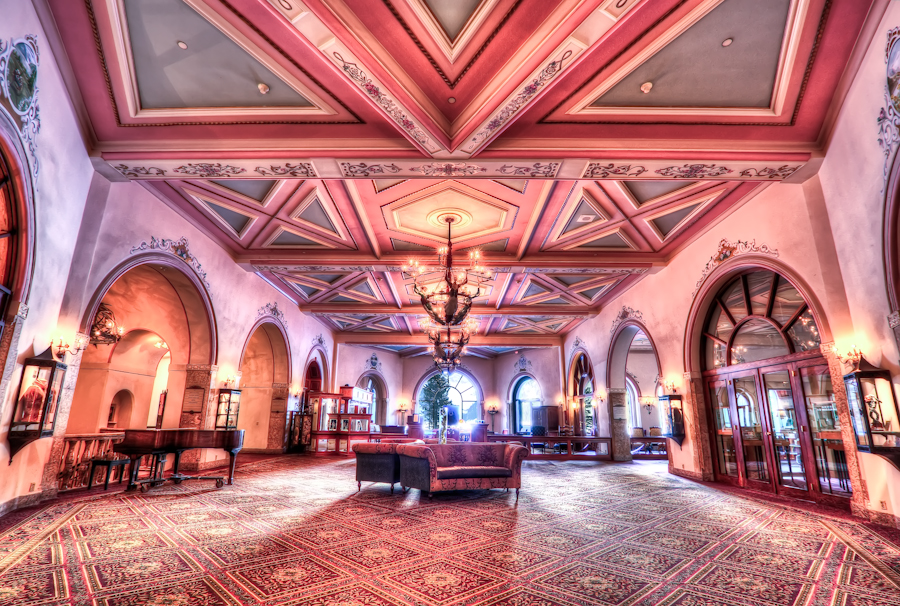
Chateau Lake Louise http://heathofee.com/2010/04/20/chateau-lake-louise/ http://heathofee.com/2010/04/20/chateau-lake-louise/#comments Tue, 20 Apr 2010 18:55:23 +0000 http://yycofee.wordpress.com/?p=698 I took yesterday and today off work and made a trip out to the mountains to nab some photos. I was really hoping that the mountain lakes would be thawed by now so that I could do some experimenting with mountain reflections in water…but that turned out to be wishful thinking as the lakes in Banff National Park are still almost completely frozen. My first stop was Lake Louise and after seeing the lake still frozen I decided to head into the Chateau for some interior photos. It had been a long time since I was last in the Fairmont Chateau Lake Louise and it didn’t disappoint. Although it seemed a little smaller than I remember, the lobby and great room leading into the Lakeview Lounge are very impressive. Below is a shot looking from the lobby towards the Lakeview Lounge.

Canon EOS 50D, Sigma 10-20mm f/3.5, 10mm, F 8.0, ISO 100, 3 Exposures

The details: 3 exposure HDR (-2,0,+2) tonemapped in Photomatix, adjustments in Lightroom and Photoshop, noise reduction using Noiseware.

After my time at Lake Louise I hit Johnston Canyon on the way back to Calgary and made the hike all the way to the upper falls despite the semi-treacherous trail (still covered with ice in some sections). I’ve gone through a couple of those photos and it looks as though I’ve got some keepers. I’ll be sharing those sometime in the future.

]]>
http://heathofee.com/2010/04/20/chateau-lake-louise/feed/ 4
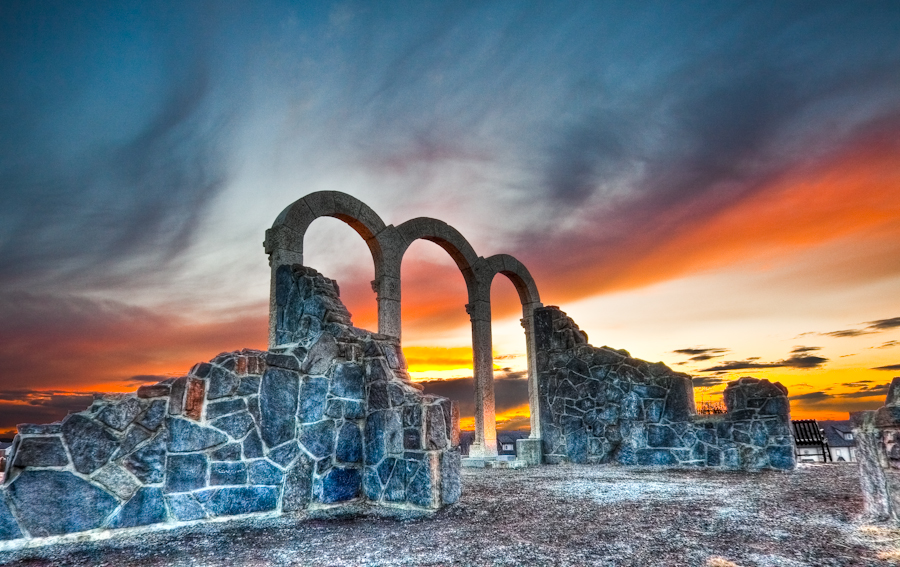
The Fiery Gates of Elgin Village http://heathofee.com/2010/03/09/the-fiery-gates-of-elgin-village/ http://heathofee.com/2010/03/09/the-fiery-gates-of-elgin-village/#comments Tue, 09 Mar 2010 15:16:28 +0000 http://yycofee.wordpress.com/?p=627 Last week while walking back to my place from the liquor store I looked to my left and saw a fantastic sunset painting the clouds all kinds of pinks and purples. I jogged the rest of the way home (as quickly as one can with a case of beer in tow) and immediately went to collect my camera gear to try and capture the amazing sunset. I had a hilltop spot in mind in the next community over (Elgin), but by the time I jumped in my car and drove the few blocks it took to get there the sunset was gone. SO disappointing! I was determined to get some shots of these arches on the hilltop so I made sure to keep my eye out for some dramatic clouds the following evening. Here’s what I came up with:

Canon EOS 50D, Sigma 10-20mm f/3.5, 10mm, F 11, ISO 100, 3 Exposures

This is a 3 exposure HDR (-2,0,+2) tonemapped in Photomatix, original sky from the -2 exposure masked in using Photoshop, a bit of noise reduction in Photoshop, and some final tweaks in Lightroom. I left a bit of a blue cast because I liked the contrast between the blue stone and the fiery sunset. I’m still working on my HDR processing, so let me know what you think!

]]>
http://heathofee.com/2010/03/09/the-fiery-gates-of-elgin-village/feed/ 3
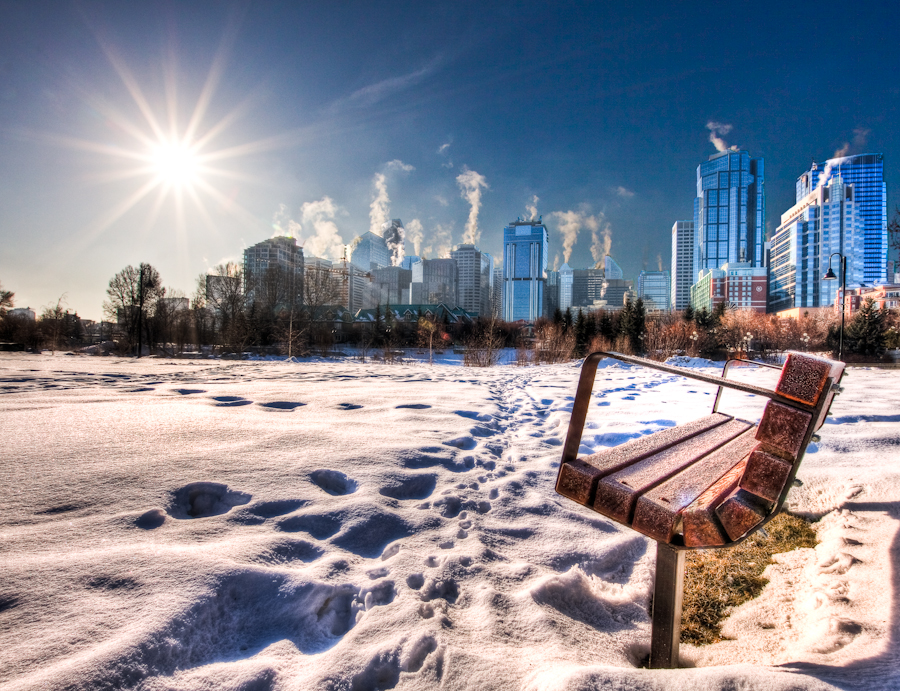
Calgary Skyline from Prince’s Island Park http://heathofee.com/2010/03/03/calgary-skyline-from-princes-island-park/ http://heathofee.com/2010/03/03/calgary-skyline-from-princes-island-park/#comments Wed, 03 Mar 2010 15:08:31 +0000 http://yycofee.wordpress.com/?p=619 While on my downtown photowalk a couple weekends ago I made my way over to Prince’s Island Park and took a few shots there. It was a relatively cold morning at about -8 celsius and I wasn’t wearing the ideal footwear for tromping though the snow (slip on loafers were not a good choice) but I couldn’t resist this frost covered bench with the city skyline punctuated by a sunburst. The original crop of this image included a tree in the background on the far right of the frame but I was forced to crop it out when masking in the sky from one of the original images. I’m still working on the whole Photoshop masking process, and this one didn’t turn out exactly how I wanted…but I gotta keep trying if I’m gonna learn, right?

Canon EOS 50D, Sigma 10-20mm f/3.5, 10mm, F 16, ISO 100, 3 Exposures

This is a 3 exposure HDR image (-2,0,+2) tonemapped in Photomatix, original sky masked in from the -2 exposure with some final tweaks in Lightroom. Any critiques are more than welcome!

]]>
http://heathofee.com/2010/03/03/calgary-skyline-from-princes-island-park/feed/ 1